How To Fit Laminate Flooring
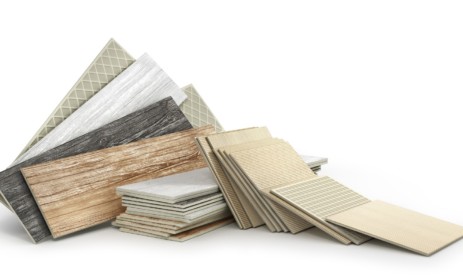
Laminate flooring remains a popular flooring option, thanks to constant innovation from its manufacturers. The early laminates might have been cheap and cheerful, but as time has passed, the quality has (ironically) gone through the roof. Now, good quality wood-effect laminate flooring is barely distinguishable from the floorboards it imitates, and new faux materials such as stone and tiles have added to its appeal.
Another thing laminate flooring has in its favour is its ease of fitting. Because it comes in lengths and all you have to do is cut them to size, it’s very hard to mess up – and if you do, it’s just one piece that’s gone to waste. So if you like the idea of giving your floors an authentic, high quality wooden or stone effect, read on – we’ll tell you exactly how to lay laminate flooring.
What is laminate flooring?
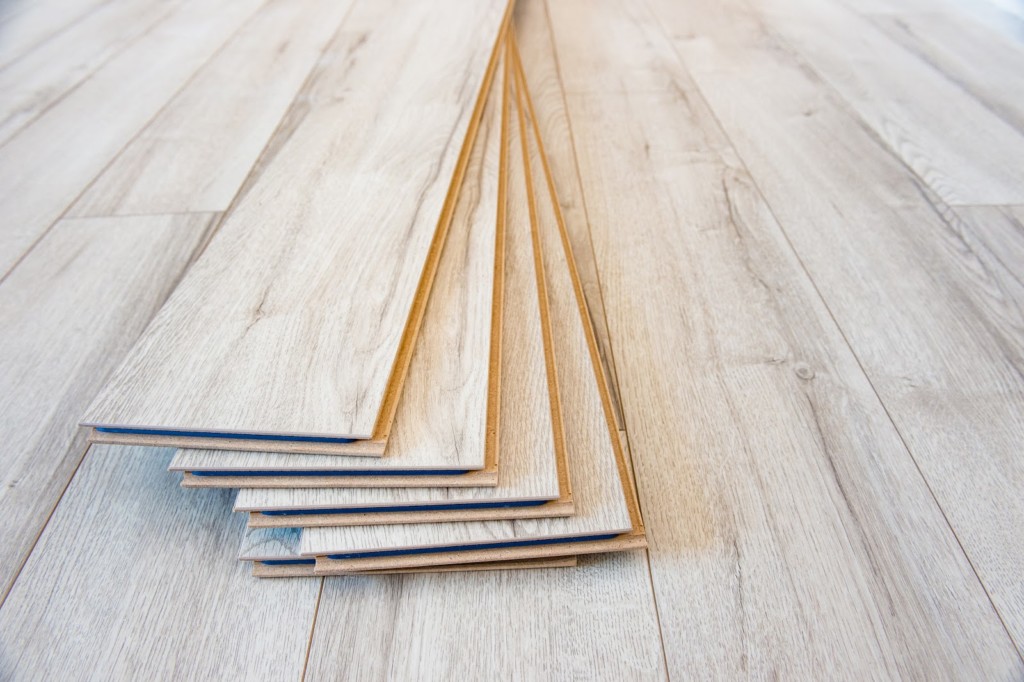
The word “laminate” literally means layered, and that’s exactly how to describe laminate flooring. It has a backing layer, then a tough fibrous core layer to keep its shape and strength. On top of that, there’s the printed pattern (wood effect or stone, for example), followed by a top transparent coating to protect it. Some laminate flooring has a textured finish to make it look and feel even more realistic.
Built into the core layer are the tongues and grooves that allow the pieces to slot neatly together and form a complete, draught-proof and spill-proof layer once it’s all laid out in the room.
Preparation
You’ve done the prep, now once you’ve decided you want to laminate your floor, here’s what you need to do…
Measure up
First, measure up the room. Unless they are very big, it’s probably best to ignore chimney breasts and treat the area as one big rectangle, corner to corner. That’s because you will waste quite a bit of laminate as you cut it down to size. If you buy the precise amount, you’ll find you end up with lots of unusable pieces and will need to go and buy some more.

Buy your laminate and underlay
Laminate comes in packs, each of which can cover anything from 1 m² to 2.5 m² (it will say on the packaging) so you’ll need to do a bit of maths to work out how many packs you need. It’s best to buy slightly too much, however. (Some retailers will buy back unopened packs, but ask first.) Underlay is a bit simpler. You buy it in rolls or folded sheets, and simply cut it to size. Because you don’t see it when it’s laid, you can get away with chopping it up more liberally. Underlay is there to prevent moisture reaching the underside of the laminate, but some also gives a bit of padding, sound insulation and heat insulation, too, so buy a type that suits your needs.
Let the laminate acclimatise
It’s important to let the laminate flooring acclimatise in the room for a day or two before you lay it. Leave the packs in the room so they will get used to the temperature. You don’t have to open them.
Get your tools ready
You’ll need:
- Brush
- Spacers
- Tape measure
- Pencil
- Hammer
- Tapping block
- Panel saw
- Jigsaw

Tidy up
Finally, get the room as empty as possible, remove any old carpets and underlay and give the floorboards or carpet a good brush. Look for any loose nails, raised boards or other irregularities and fix or remove them.
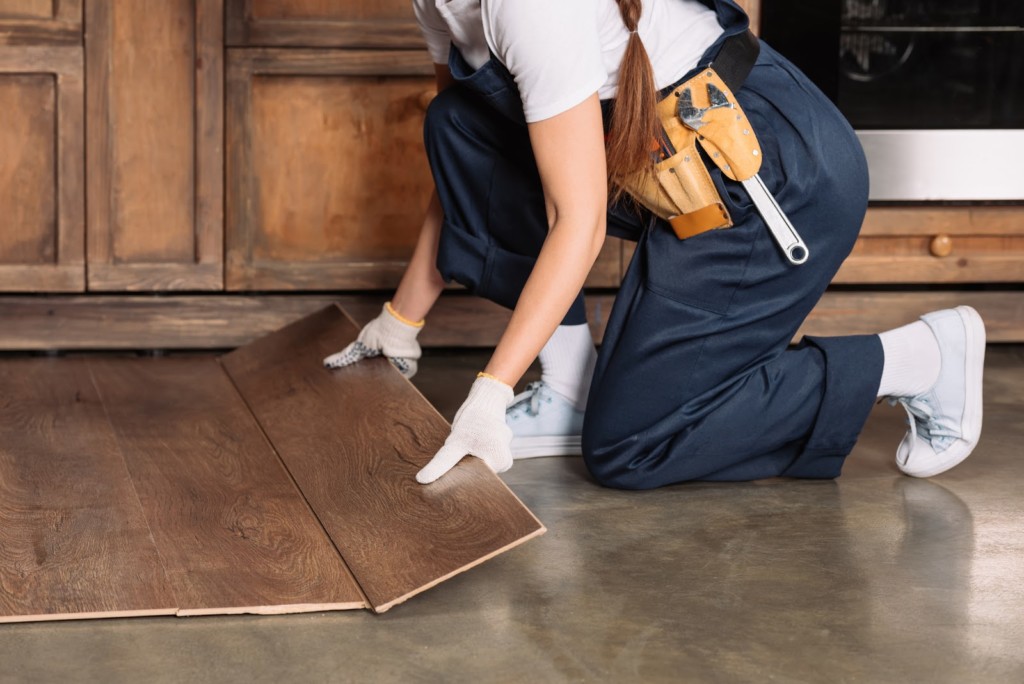
How to fit laminate flooring
Roll or fold out the underlay to cover the floor and cut it to size until you have the whole floor covered. You can attach pieces together with tape to keep the seal. Take the underlay right up to the skirting boards or walls.
Before you start laying boards, note that you need a gap of about 10 mm (just under half an inch) all around the edge. This is to allow expansion of the boards as the temperature changes. Don’t worry – you’ll be able to hide the gap with edging later.
It’s good practice to have your laminate boards running at right angles to your floorboards if you have them. Place your first board in the corner, space it out from the edge with your 10 mm spacers, then snap the next board to it end-on. Give it a gentle tap with your hammer to make sure it’s clicked. Repeat until you reach the other wall, when you’ll probably need to cut a board down to length. Use your jigsaw or panel saw for this, or if you have a circular saw, that will do too. Measure twice, cut once!
Now you’re onto the second row. Some people want a consistent pattern throughout the room, usually a 50% length like brickwork or 33% and 66% length so you get a repeat every three rows. Others simply use the end they have just cut off to start the next row, for a more random effect. Both are fine, as long as the board is never much less than 30 cm long, as very short sections can lack strength if stood upon or if a chair leg rests on it.
You will inevitably come across unusual corners and doorways where a simple 90° cut won’t do. You’ll have to mark out the board with your pencil and cut out the section with your jigsaw.
For getting around vertical radiator pipes, you can momentarily ignore the 30 cm rule. Measure the distance from the widest point of the pipe to 10 mm from the wall, and cut out a small section of laminate of that length. It will have to be an end-piece so it’ll snap into the next board. Mark out your holes, cut half a circle in the small section, another half in the main section, snap them together and you’ve surrounded the pipes.
Keep going until you have all but filled the room. It’s unlikely that your last row will fit perfectly unless the length of the room is an exact multiple of the width of a board. Rooms are also often not as square as they look, so you might find one end a few centimetres wider. Measure the distance to the wall at both ends, subtract your 10 mm and cut along the length of the boards and click them into place. The last row might need the assistance of a tapping block because you won’t be able to fit a hammer in the gap.
Finishing off
The final task is to hide the 10 mm gaps using edging pieces. With small nails, attach the edging to the skirting boards (not to the laminates) so the boards can still move underneath. Where two rooms with different flooring meet, you’ll need a threshold bar, which bridges the two surfaces.
And that’s it – you’ve laminated!
View similar alternatives to laminate flooring, such as Amtico or Karndean.
Related articles

Copyright © 2000-2026 Rightmove Group Limited. All rights reserved. Rightmove prohibits the scraping of its content. You can find further details here.