Make your very own nestbox and help give nature a home
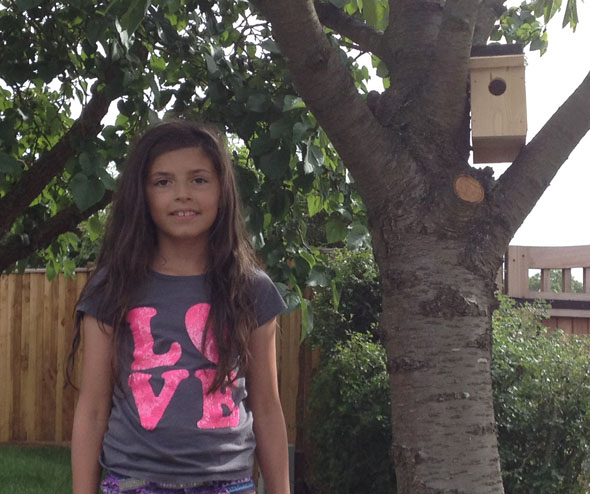
Thanks to the help of Aurora, a budding Blue Peter presenter and mini-Rightmover, we’re able to bring you a fun project for all the family in conjunction with the RSPB and their ‘Give Nature A Home’ campaign.
Setting the UK the target of creating one million new homes for nature is no mean feat, however every little helps, which is why we’re over the moon with Aurora’s fantastic efforts.
So why not get your little ones to build their own home for nature too by watching Aurora’s how-to video and following the simple instructions below.
Alternatively, visit our ‘Garden Tips’ section where you can find many more ideas and tips on how to encourage nature into your garden.
How to make your very own nestbox:
Shopping list:
- – A plank 15cm wide, 1.5cm thick and 144cm long
- – 14 galvanised round-headed nail, 3.5cm long
- – 6 small galvanished round-headed nails, 1.5cm long
- – Strip of rubber (old bicycle inner tube would do)
- – Small hammer
- – Rough sandpaper
- – Wire (if you want to fix your finished box to a tree)
- – An adult helper (who has a saw and a drill)
How you need to measure and saw your plank of wood:

Remember: Always use the hammer carefully and slowly; little taps on the nail work much better than big blows. Take special care not to hit your fingers or those of your helper.
Follow these next steps closely to complete your nestbox:
- 1. Nail each of the sides to the back. Use three nails on each side. This can be tricky. Why not ask your adult helper to begin each nail and you can finish it off? Make sure the top and bottom nails are at least 2.5cm from the edge of the wood.
- 2. Ask your helper to drill you a small hole, about 0.5cm across, in the centre of the piece of wood for the bottom. This lets any water drain out. Slot the bottom piece into place and nail it to each side, about 2.5cm from the edge of the wood.
- 3. Ask your adult helper to drill a hole in the piece of wood for the front. The hole should be central and at least 12.5cm from the bottom of the box. Make the hole 3.2cm across, to attract sparrows and great tits.
- 4. Rub the inside of the front with sandpaper to make it rough. This helps baby birds to climb out of the nestbox. Nail the front onto the sides using four nails. Remember that the rough side should face into the box and the hole should be near the top of the box.
- 5. Using the small nails, fix one side of the rubber strip to the piece of wood for the lid – this will form a hinge. Position the lid on top of the box and nail the other side of the rubber strip to the back. Ensure that you don’t nail down the lid – you will need to open the box to clean it out
Congratulations!
You have now finished building your very own nestbox!
Make sure you find a quiet spot in your garden, ideally 2-5 metres from the ground, out of reach of cats, and facing between north and east. If fixing your nestbox to a tree, be sure to use wire as nailing it to the trunk or a branch can damage the tree. You could also attached your nestbox to a wall or fence, or just under the eaves of your house.
This blog post was written by Sarah Brown, Rightmove’s Social Media Manager


