5 Steps To Decluttering Your Home
Spring now feels like a distant memory, so we think another round of decluttering your home is well overdue.
Having a clear out, throwing away things you no longer need and organising what you do need are key actions that will make your house feel like a home again and less like a dumping ground for all the things we accumulate over time.
Here are five steps we think will get you on the right track to decluttering your home.
1. Be prepared for your war on clutter!

Before you get stuck in, it’s best to set aside some time to dedicate to your decluttering campaign. First off it’s a good idea to make a list of all the rooms or areas you plan to tackle.
This doesn’t need to include your entire house unless you’re feeling particularly ambitious, but you should make sure it includes what we call the ‘danger’ zones – the places people often accumulate too much clutter, fail to tidy on a regular basis or just generally use as a dumping ground.
These zones can include kitchen cupboards (or a larder/pantry if you’re lucky enough to have one), closets and wardrobes, cupboards and storage areas around the home as well as any garages or sheds you have on your property.
2. Start by giving yourself a clean slate

When attacking your first ‘danger zone’, be sure to empty out the room as much as possible.
Granted this isn’t always the easiest task, especially if you have a lot of heavy furniture in the room, but by clearing out in even one corner it gives you a bit of space – physically and psychologically – to get started.
Arrange similar items together in different areas so you can get a clear idea of just how much you have to sort through – from household bills and papers to kitchenware – so that it’s out of the way.
Then take a good look at the room or zone you’re focusing on so you can visualise how you’d like it to look when the task is complete.
3. Decide what you need… and what you don’t!

This is likely to be the hardest part of the task and it could well bring up a lot of emotions as you sift through all of those items you’ve accumulated over the years.
But it’s important to really think about whether each one is something you’re likely to need in the near future or not.
That dress you’ve been saving for a future occasion but haven’t worn in years, the lamp that doesn’t quite fit with the room’s decor anymore or all of those canned goods that are almost past their sell-by date – do you really need to keep hold of them?
It’s worth being a little more ruthless than usual for this task – perhaps invite a friend or family member round to help and question you if you’re the type of person who struggles to let go of sentimental items.
By the end of this step you should have a large pile of items you don’t need and several (hopefully) much smaller piles of items you plan on keeping.
4. One person’s trash is another person’s treasure

Just because you’ve now got a huge pile of discarded items to get rid of doesn’t mean you should just bag them up and put them out with the bins.
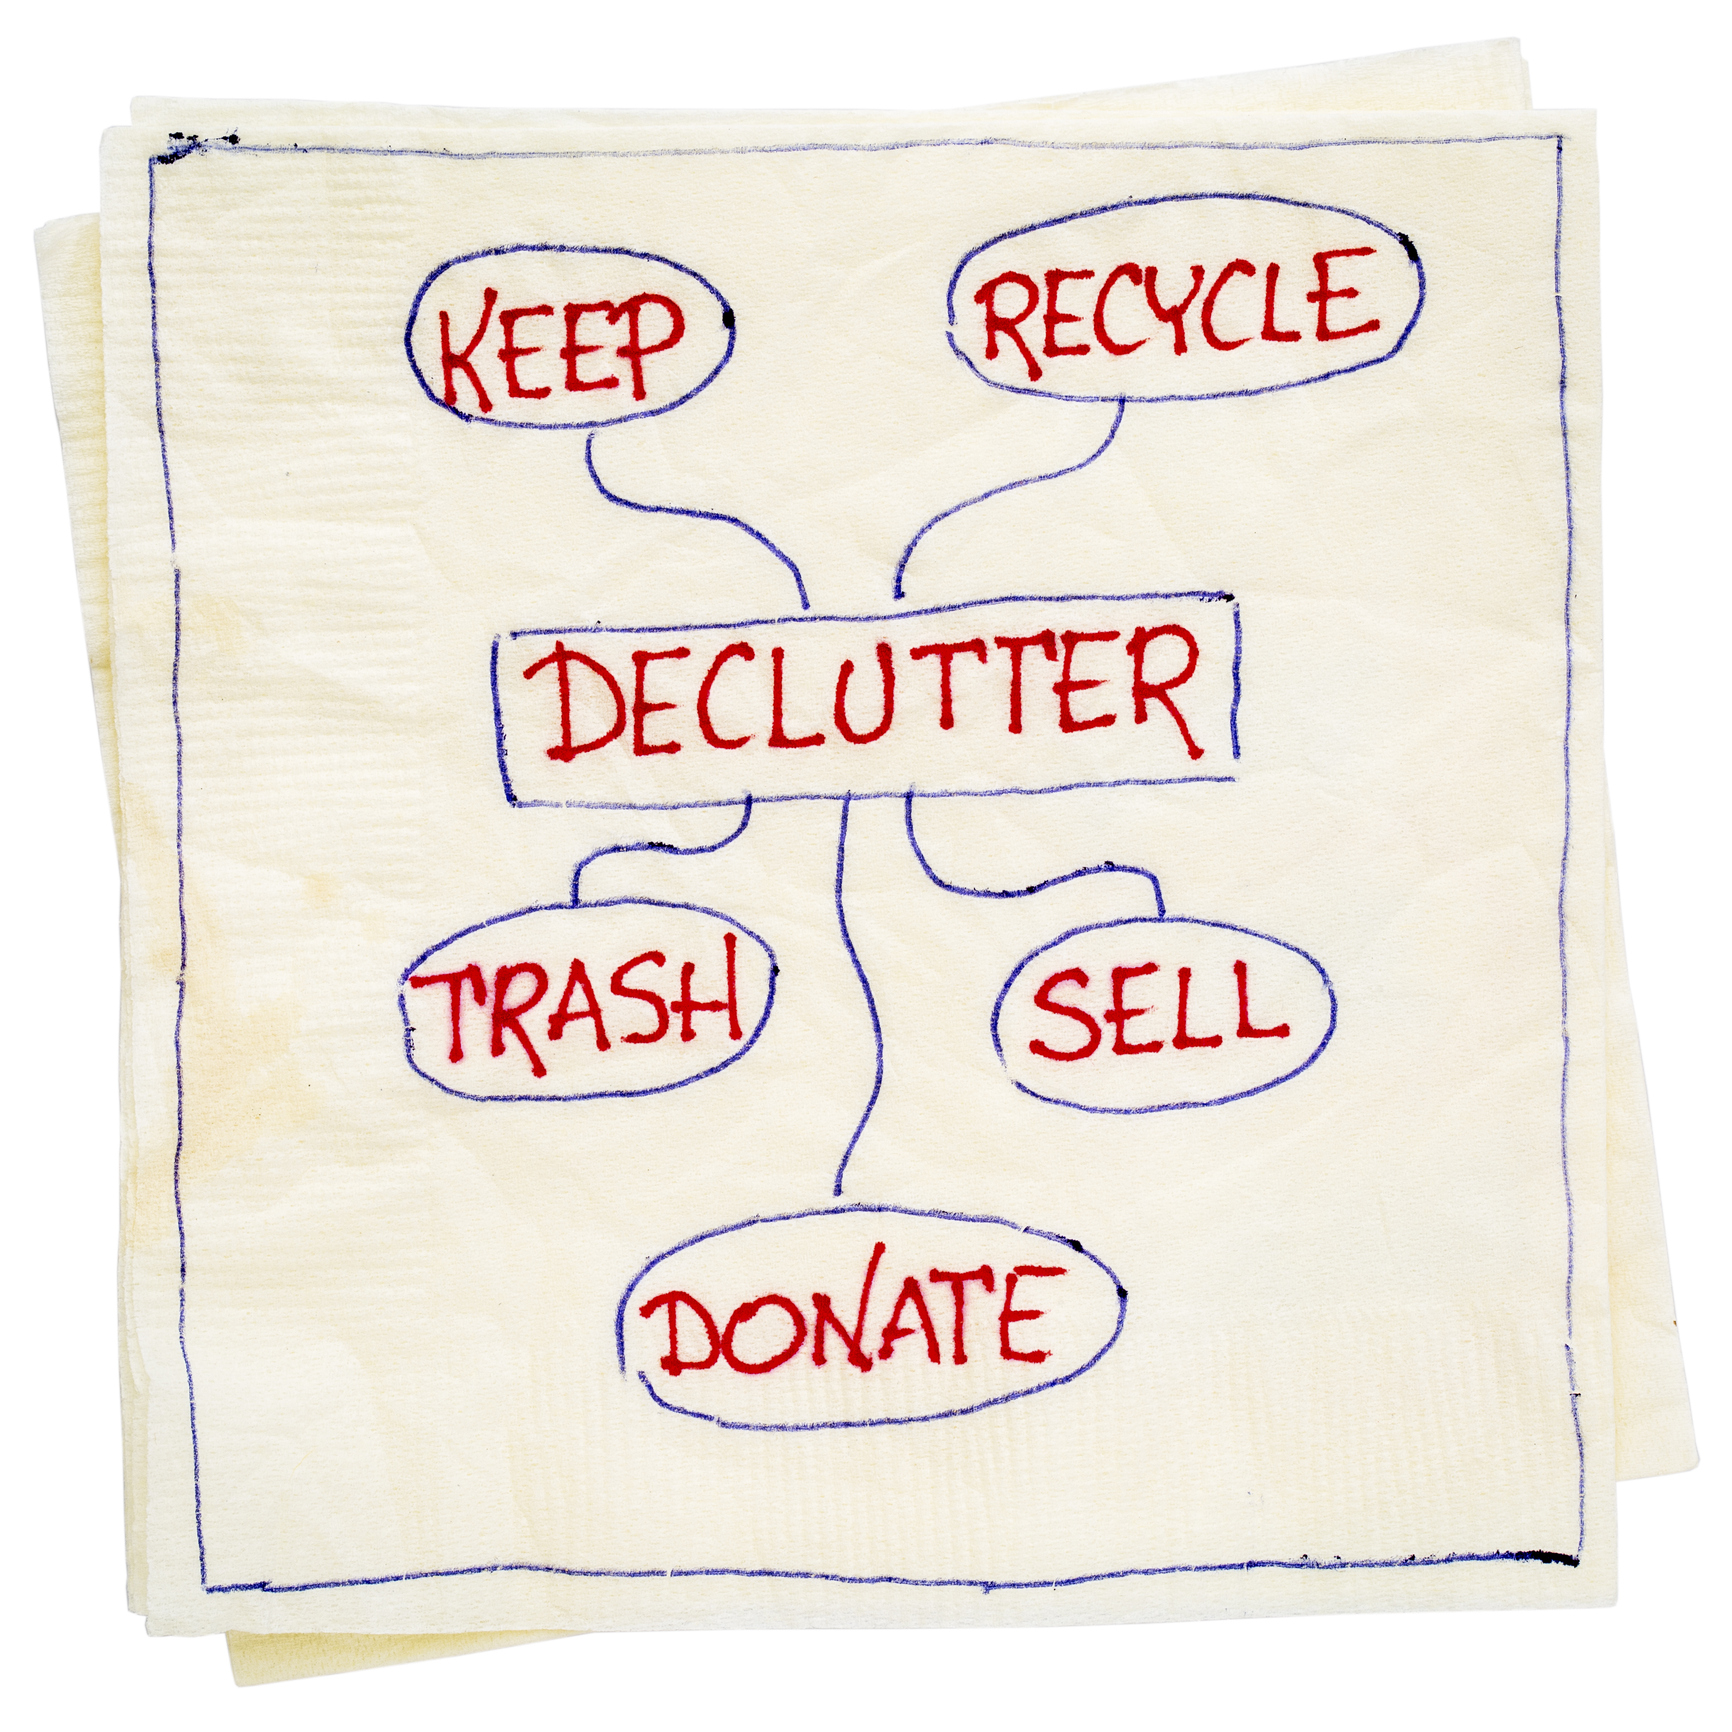
This next step asks you to once again go through everything and this time decide whether it needs selling, donating or throwing out.
If an item could be of value – perhaps it’s a vintage jacket in good condition or a retro videogame console in high demand – put it aside in a new ‘sell’ pile and get signed up to sites like eBay, Depop and Shpock to auction them off. Car boot sales can also help with this step!
For items that are in good condition but perhaps wouldn’t be worth the effort of listing them for sale, consider donating them to friends and family who show an interest or taking them to your local charity shop.
Finally, if an item is in poor condition then it’s time to toss it out with your weekly rubbish. Get that clutter out of your life!
5. Rebuild your new dream room or ‘zone’ the way you envisioned it

Now that you’ve got rid of the clutter and narrowed down the ‘danger’ zone to just those items you need or love – it’s time for the fun part!
Start placing items and furniture back where they belong to reconstruct everything according to your original plan and vision for the space.
Extra advice for this step is to try and make sure everything has its own place where it will be used or appreciated.
You may even find during this step that you reconsider your decision to keep something – that’s OK too! If you’re on the fence about an item, then chances are it isn’t something you need in your home.


